


29 JanThe Manifold Is Finished!
Went to see Tim again today, what an adventure! Think I must have driven for about 8 hours in total (got stuck in traffic both in Bradford in the morning rush hour and Kidderminster in the teatime one). Torrential rain, pitch black deristricted country roads, and extreme winds on Saddleworth moor. Engine stuttering on the way home because when you reconnect fuel pipes, theres always a bit of bloody rubber that blocks up the carb floats (wont be sad to see the back of that)! Going down the motorway in a Spitfire probably has more in common with flying a WWI biplane than driving a modern car, but I digress…
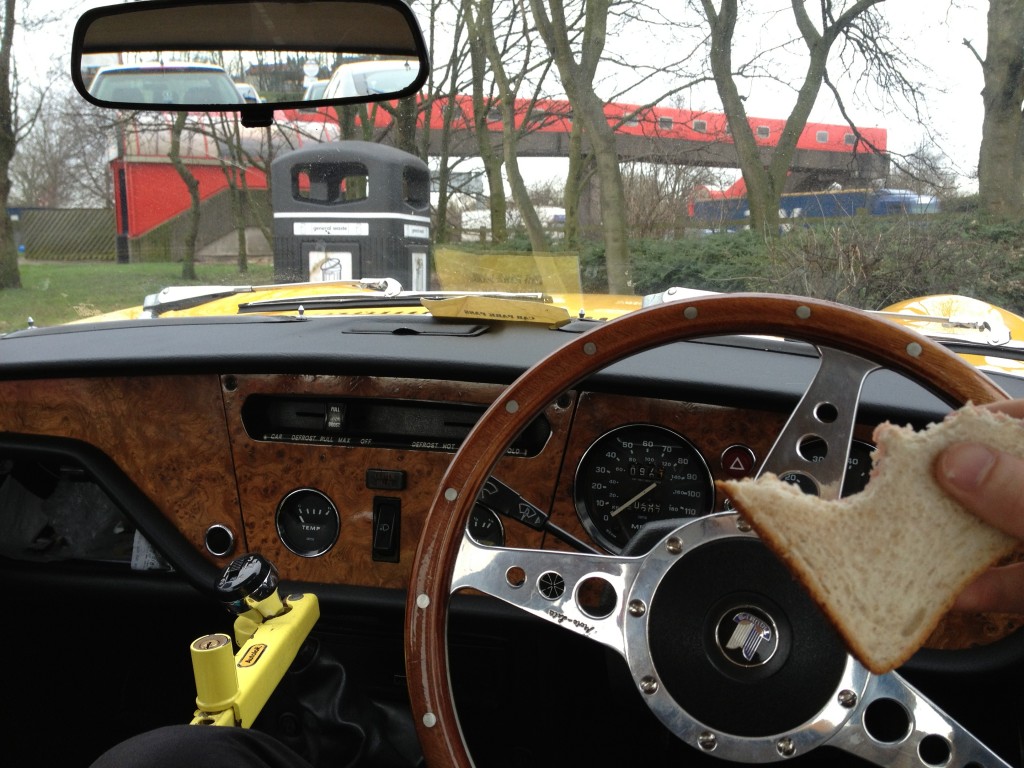
Set off at half 7, conditions seemed pretty clear. Had a 5 minute stop for lunch on the way down once I was on the M6. Was a good ham sandwich; left the yoghurt for later as time was ticking.
Eventually got to Tim’s at 11.30. Tim just happened to be in the midst of planning another top secret project, but we wasted no time and got cracking with the task in hand for today – finish the manifold.
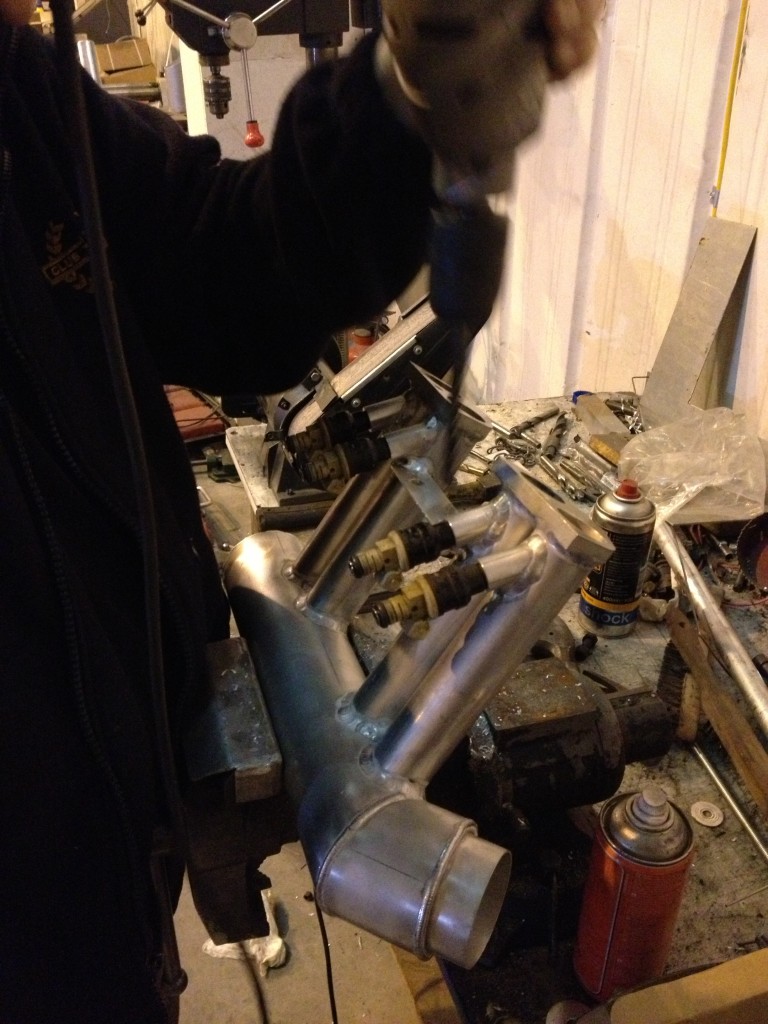

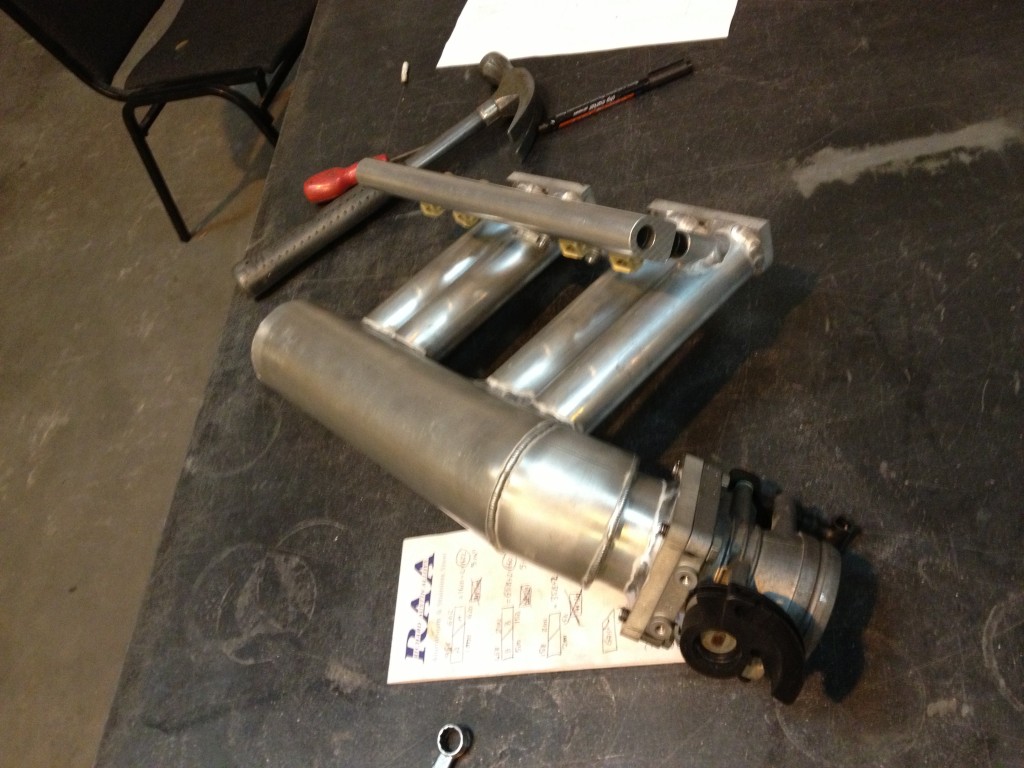
Tim’s fuel rail securing idea was really clever. I’d been scratching my head over how this could be done, but as you can see it’s as simple as having a few flat pieces of ally welded to the manifold and fuel rail, then some rivinuts and bolts.
Afterwards I wasted no time in tearing the carbs and manifold off, proceeding to bleed all over the engine bay as usual when catching that **�$%G* heatshield on its edges. You can get a better view of the fuel rail attachment here. This stops it blowing off when 3 bar of pressure pulses through it:

^ Getting somewhere!!
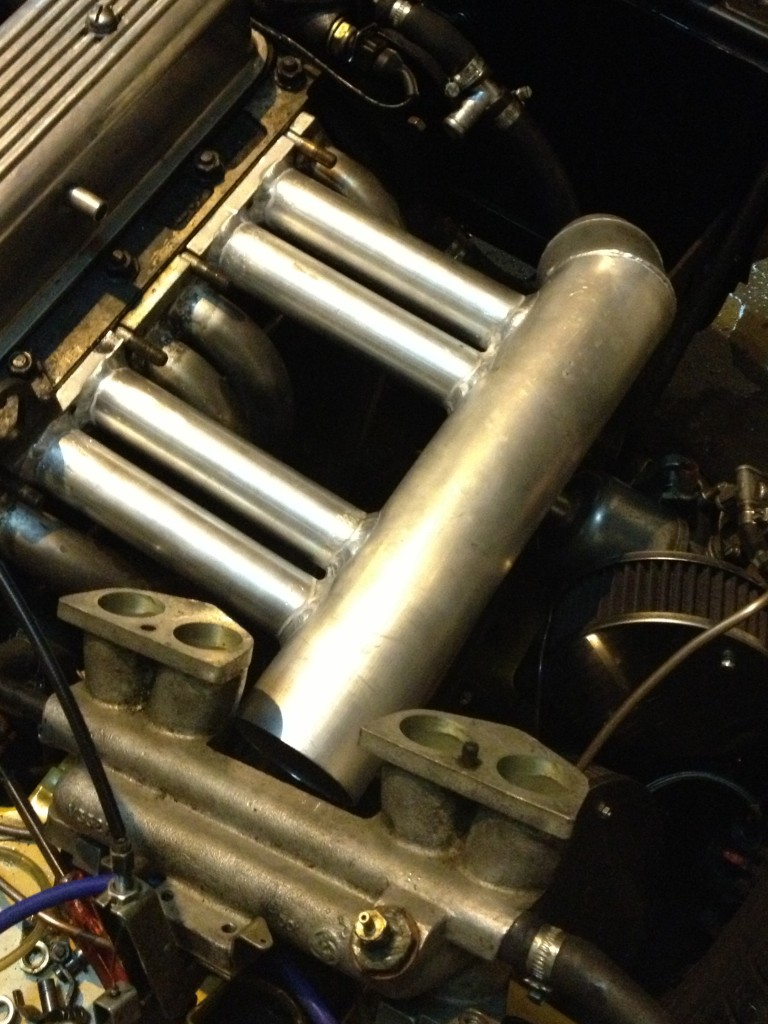
We then trial fitted the throttle body. Tim’s had some flanges laser cut from aluminium, so Malcolm then proceeded to TIG weld one on to the extension at the end of the plenum. By the way this throttle body flange fits in any of it’s four possible orientations so took literally seconds to line up for a perfect flush fit. 8)
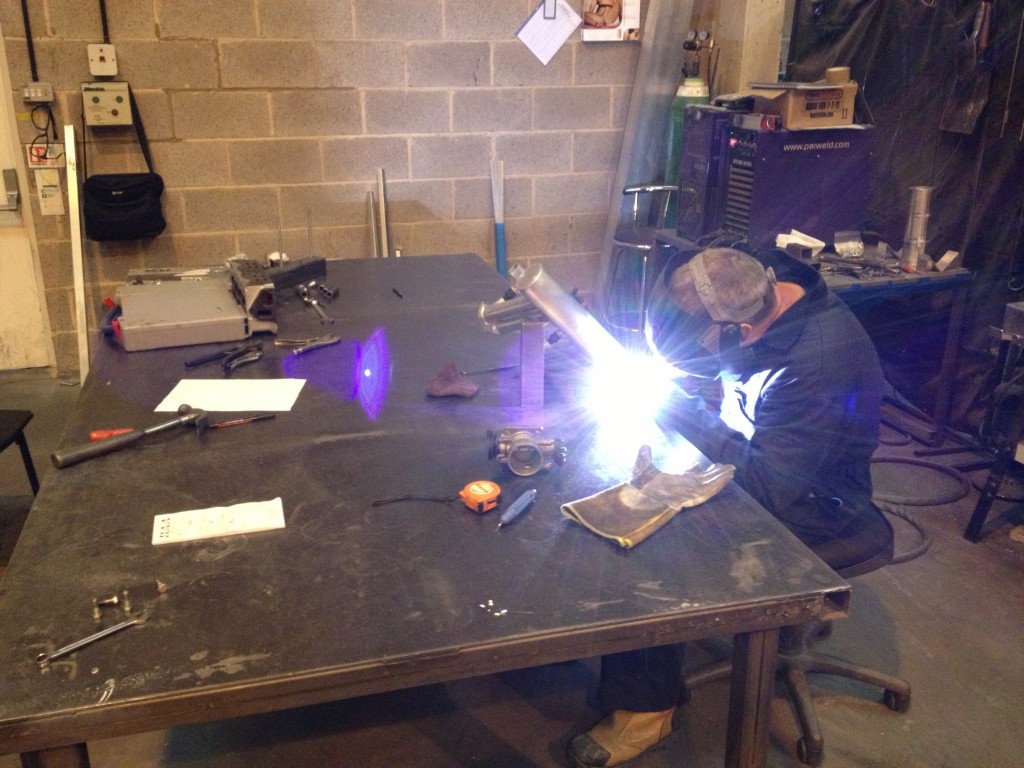
I took some video of the welding which I’ll get uploaded to youtube soon.

Remember that thread I had asking about locking a distributor? Whilst I like Marcus’ simple idea of just using cable ties, Tim kindly offered to have it tacked so I took him up on that. This now has a fixed advance so will be perfect for use as my camshaft position sensor to gain full sequential injection – I just need to get a hall effect sensor and make up a bracket.
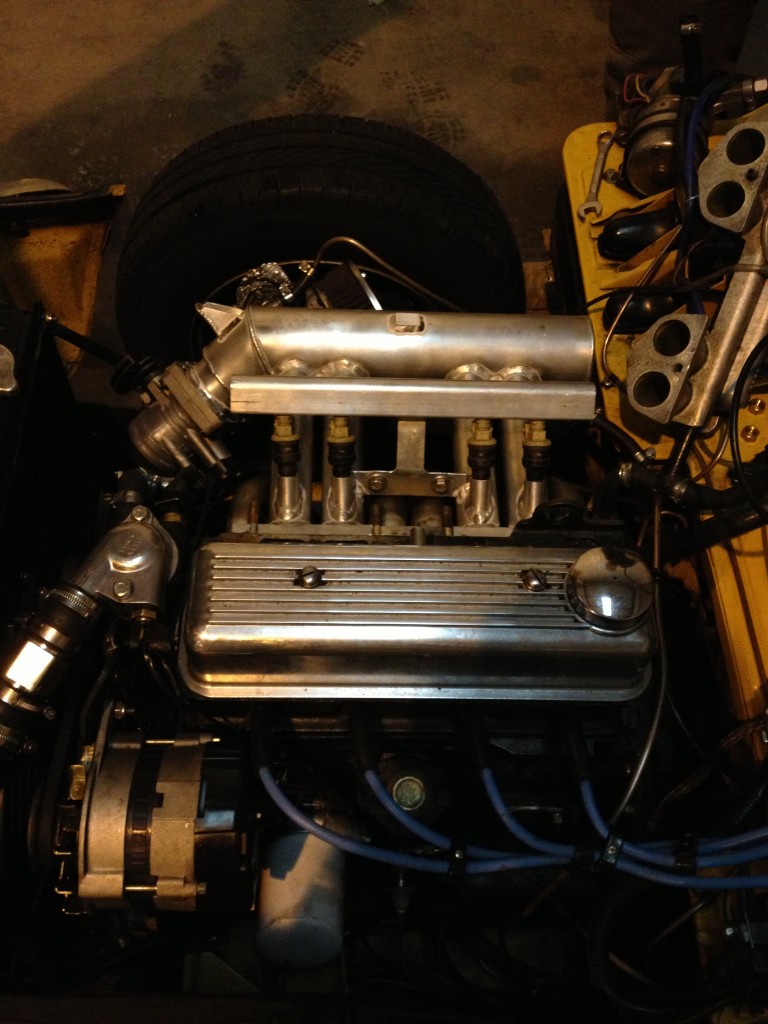
The more we added the heavier it got, but the finished product still weighs noticeably less than a pair of SU’s on a Triumph manifold. It feels so robust and solid. If I discovered Tim and Malcolm were really German engineers in disguise, I would not be surprised.
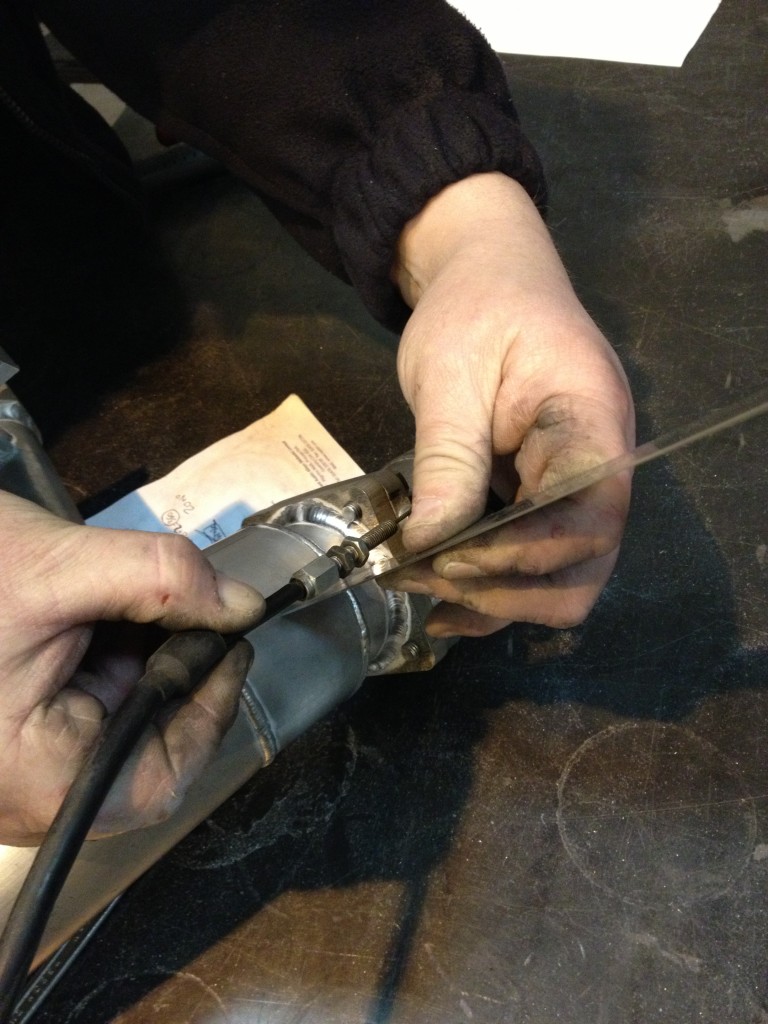
Measuring up for a throttle cable bracket using an old motorcycle cable located in Tim’s treasure trove of spare automotive parts
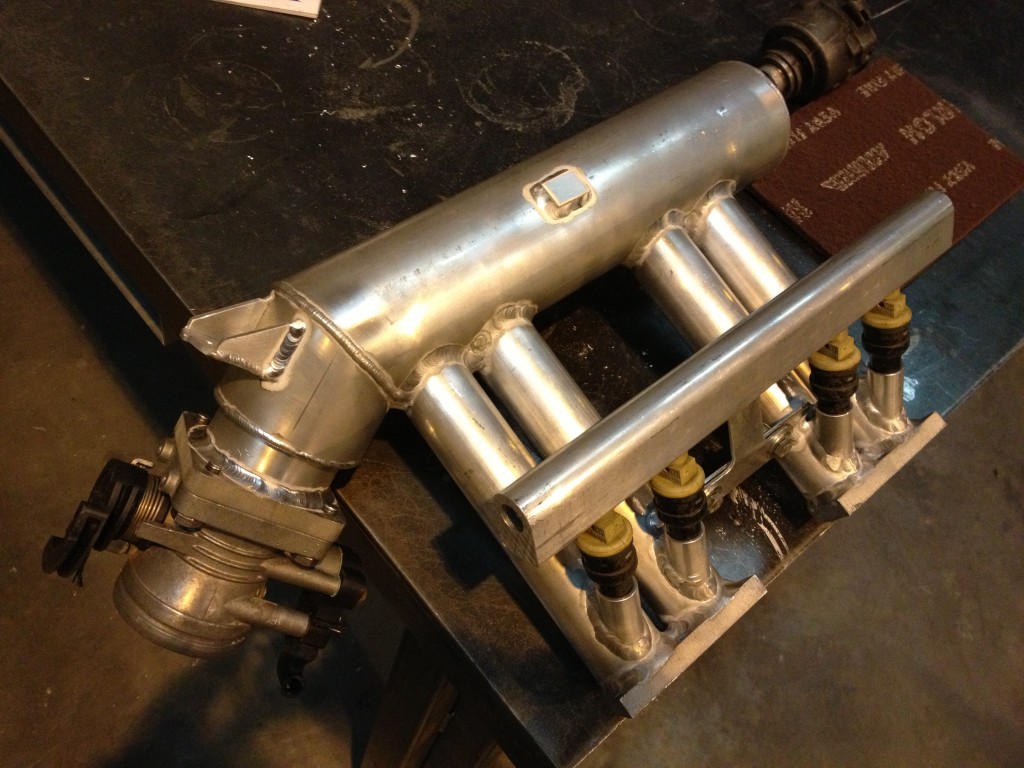
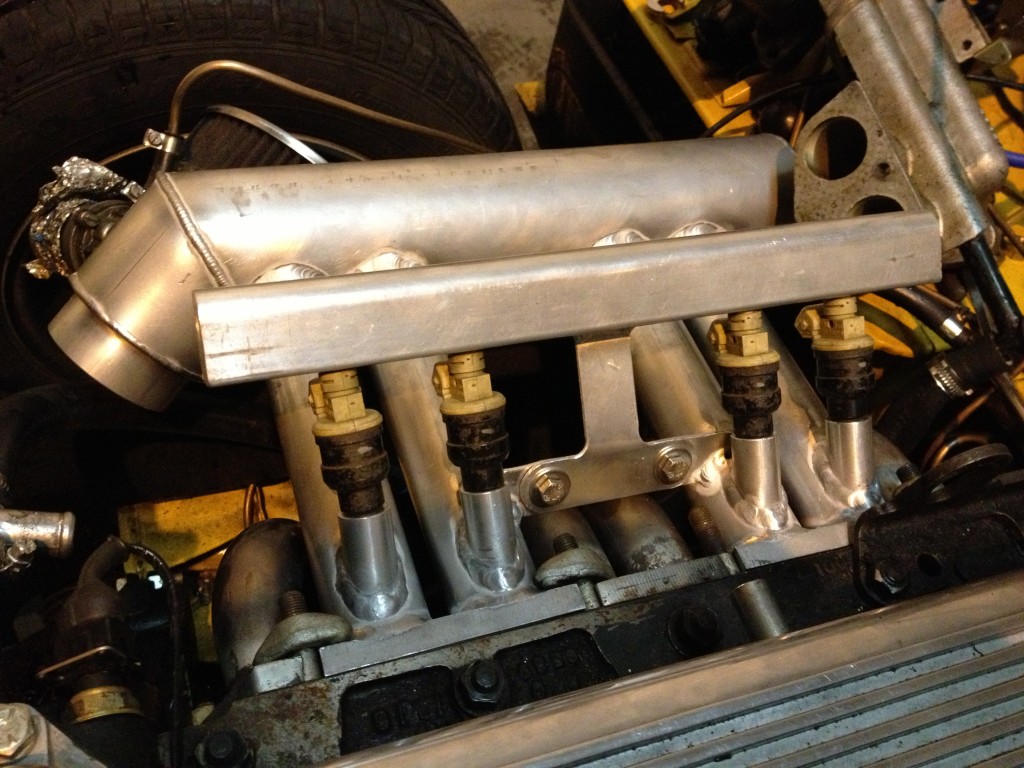
YESSSSS!! Note the throttle bracket added and a small plate on top of the plenum to tap for a vacuum takeoff. I figured top center between the inner runners would be the most even place to put it, but then again what do I know. We may lose 34.2-37.8bhp for not flow benching this decision, but that’s a risk I’m willing to take.
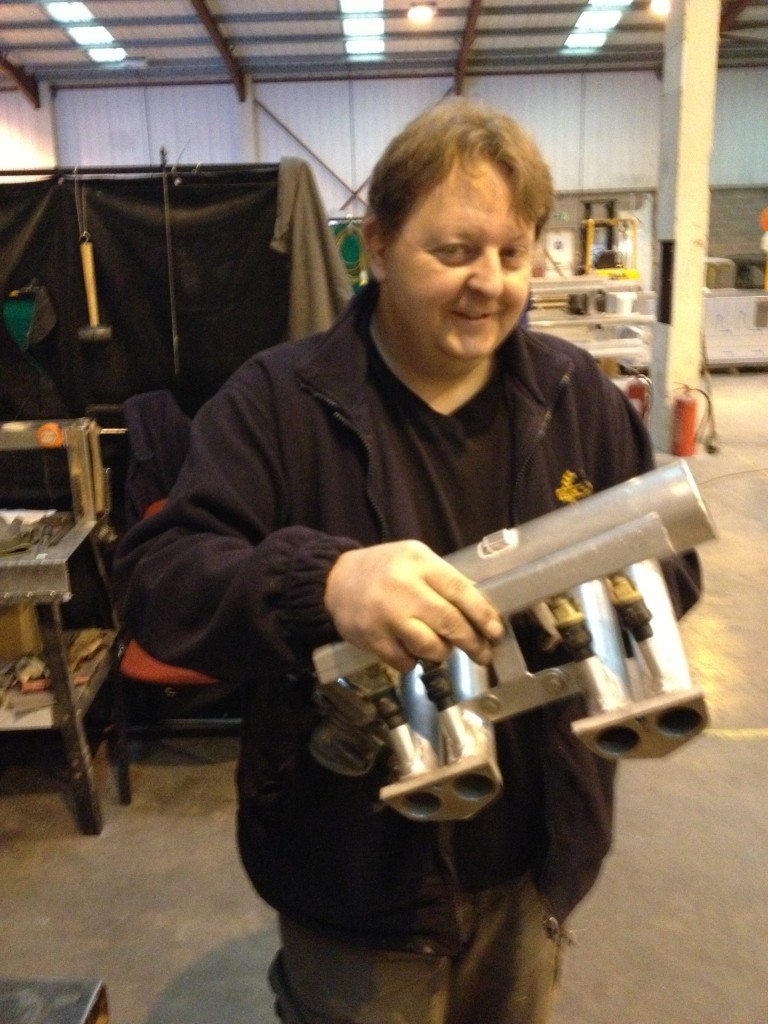
Dr.Tim proudly displaying this monster he’s created. Tim I can’t thank you enough for all the hard work you’ve put into it, it’s so enjoyable seeing your ideas come to life and turned into something even better than what you originally had in mind.
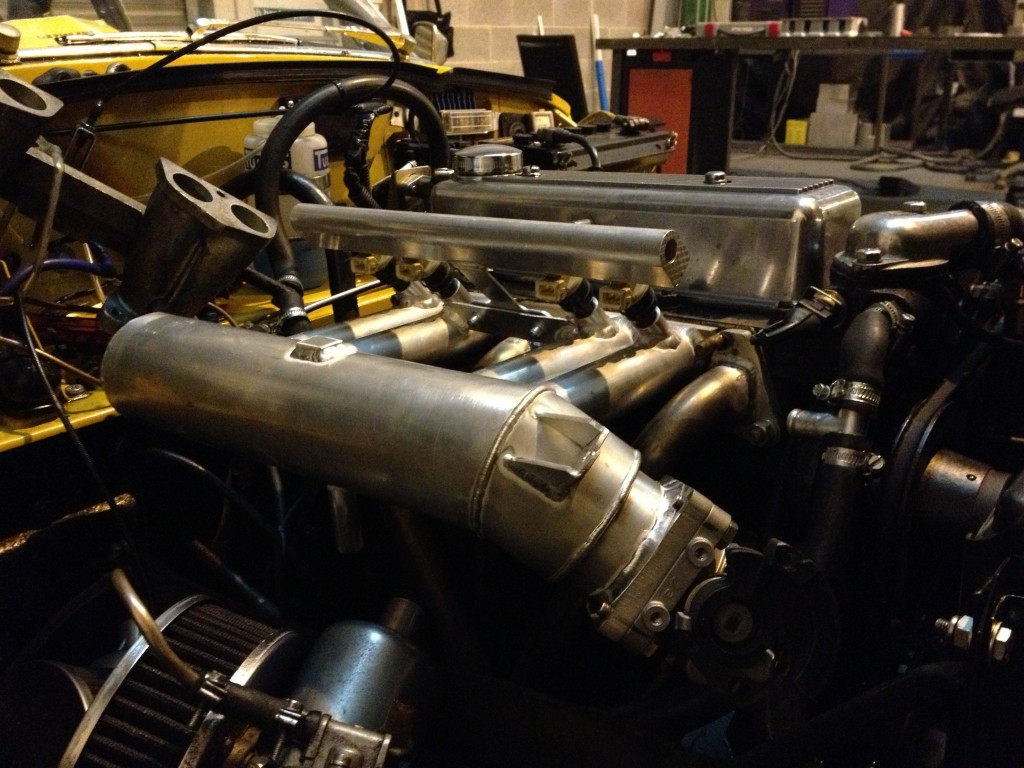
Manifold #2 in progress, being checked for fit on an actual Spitfire. Perfect fit again of course:
So I now have the joy of assembling this over the next few weeks, and polishing it up to a mirror finish. It’ll be hard to resist the temptation to just fit it straight away, but after all the hard work Tim and the lads have put into it, it needs to be done justice and done right. JUST LOOK AT IT!
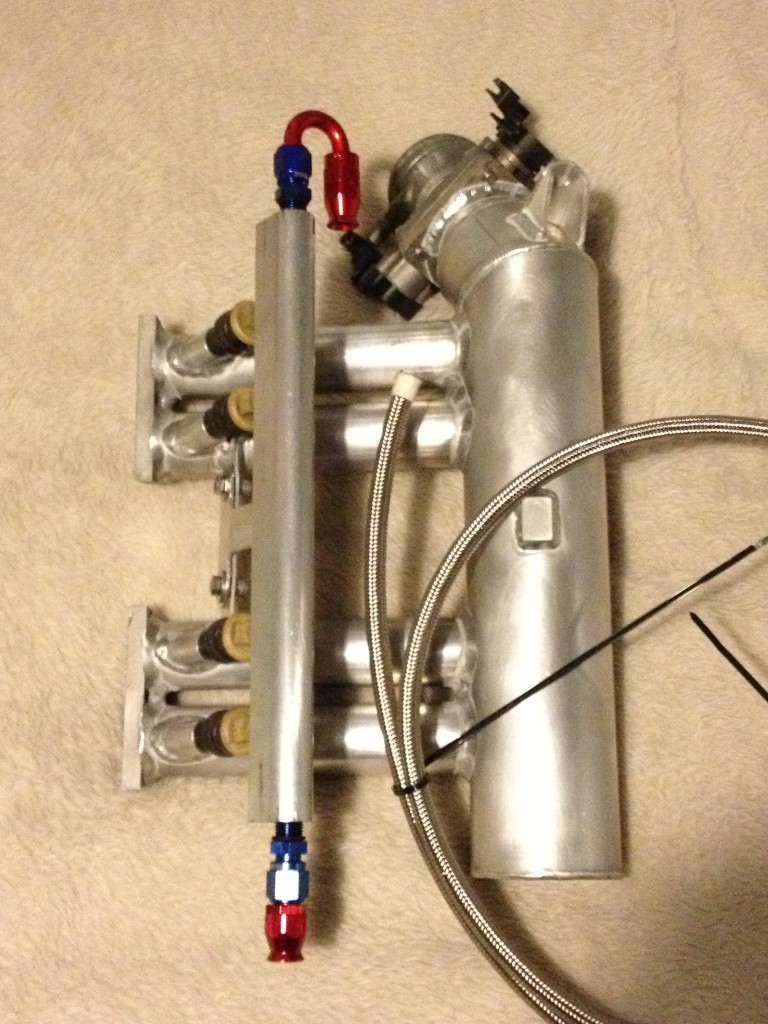
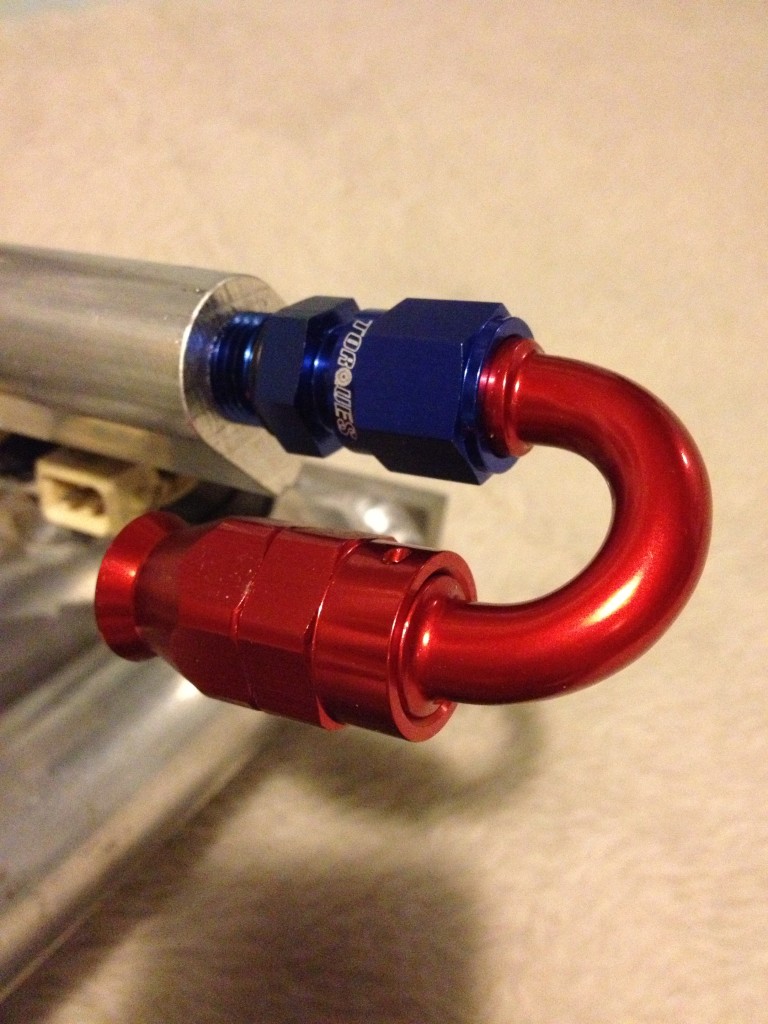
These AN-6 fittings are so pricey but will be a new skill for me to have once I’ve assembled a few. Plus they do look very nice.
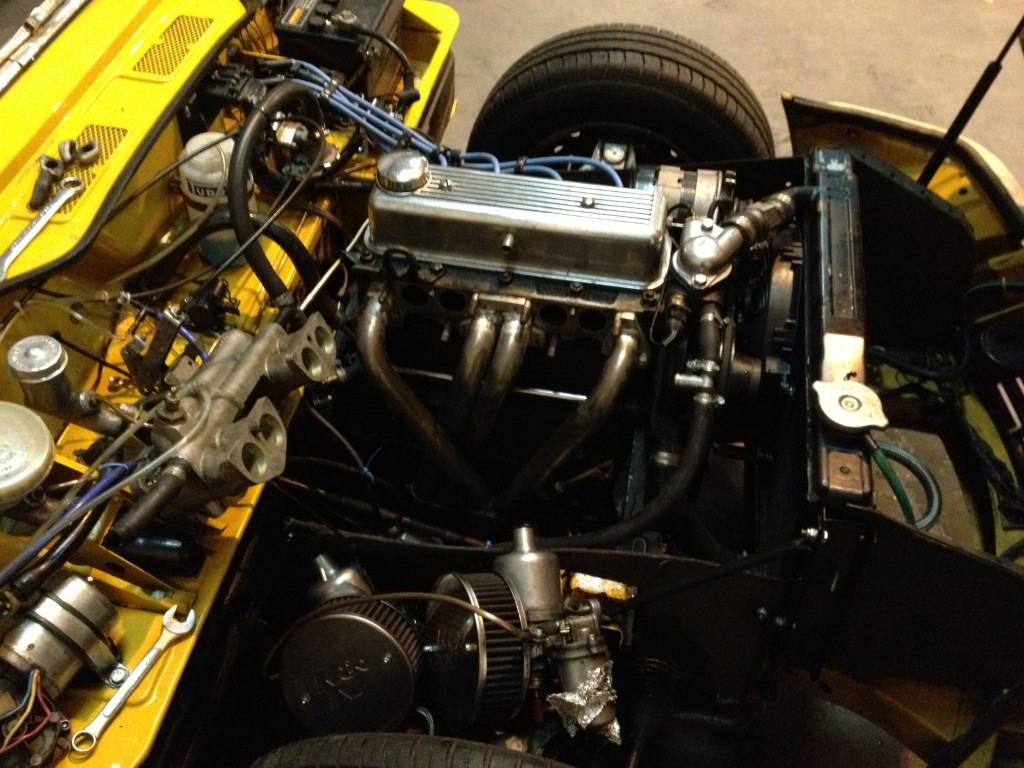
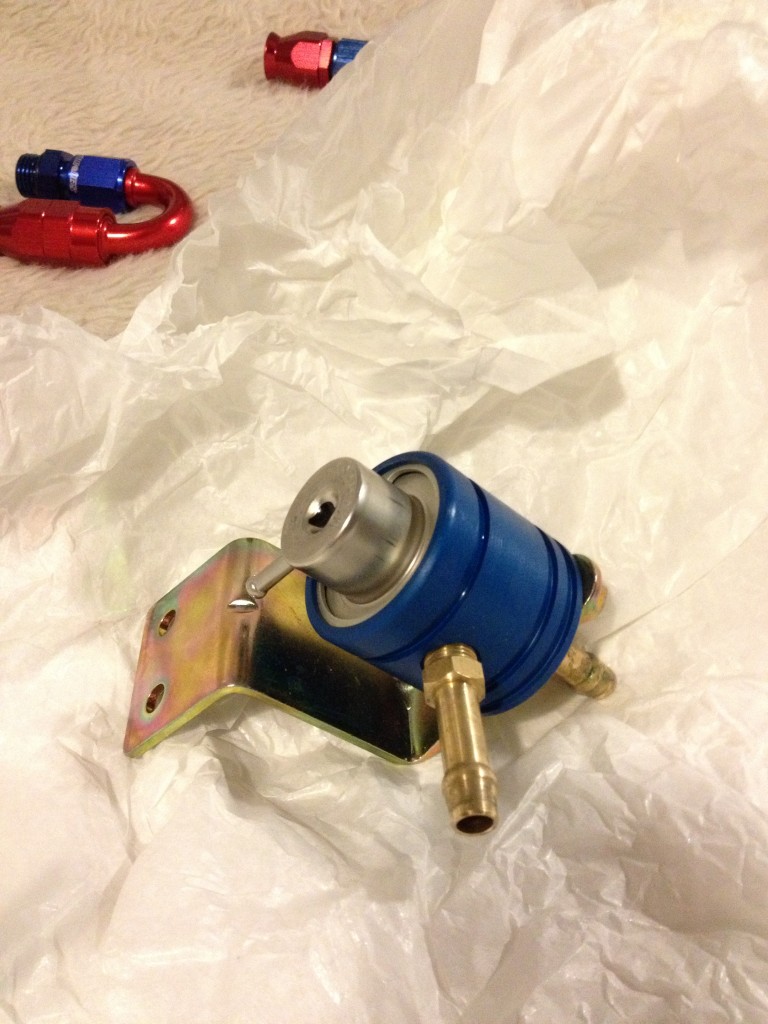
The story doesn’t stop there though! When I got home, I was rewarded for my driving efforts with a massive parcel on my bedroom floor containing a fuel pressure regulator and fuel pump / swirl pot combination unit. I didn’t realise how massive this pump would be, it’ll take up quite a bit of boot space. A new aluminium fuel tank suddenly looks much more attractive…
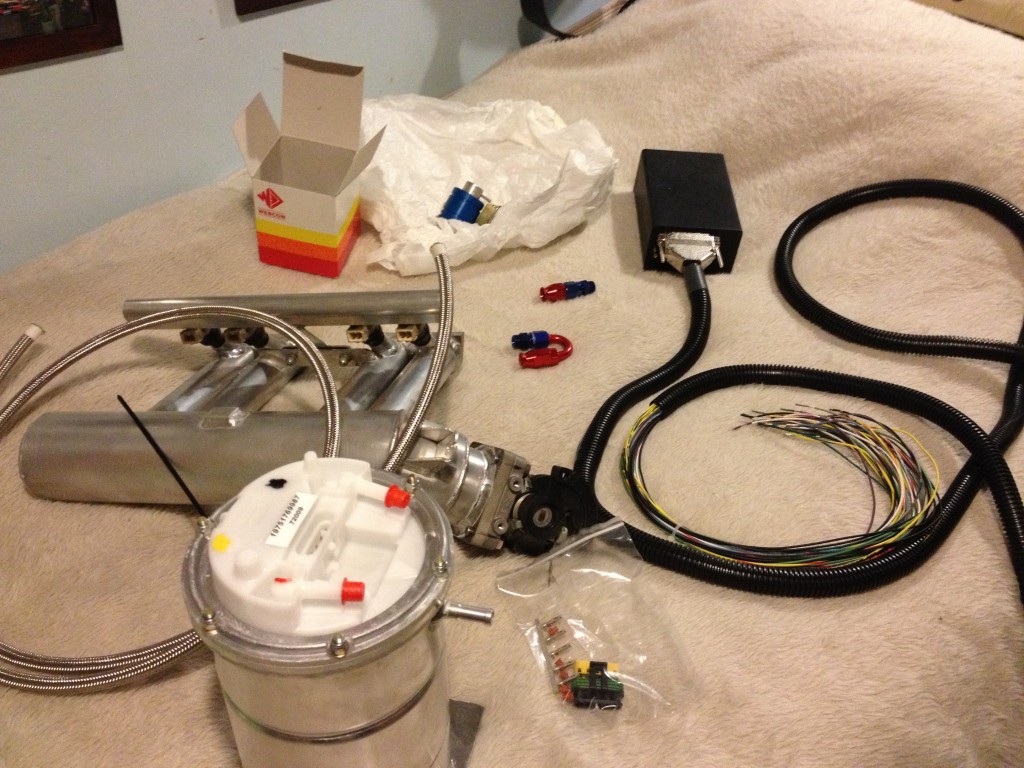
Got a lot of work cut out for me! Might have to pull some all nighters as I’m working overtime every weekend now until march. Worth it though 😀
SHARE THIS ARTICLE


Looks amazing. I can’t wait to see what happens next!