19 FebPolishing Takes Bloody Ages
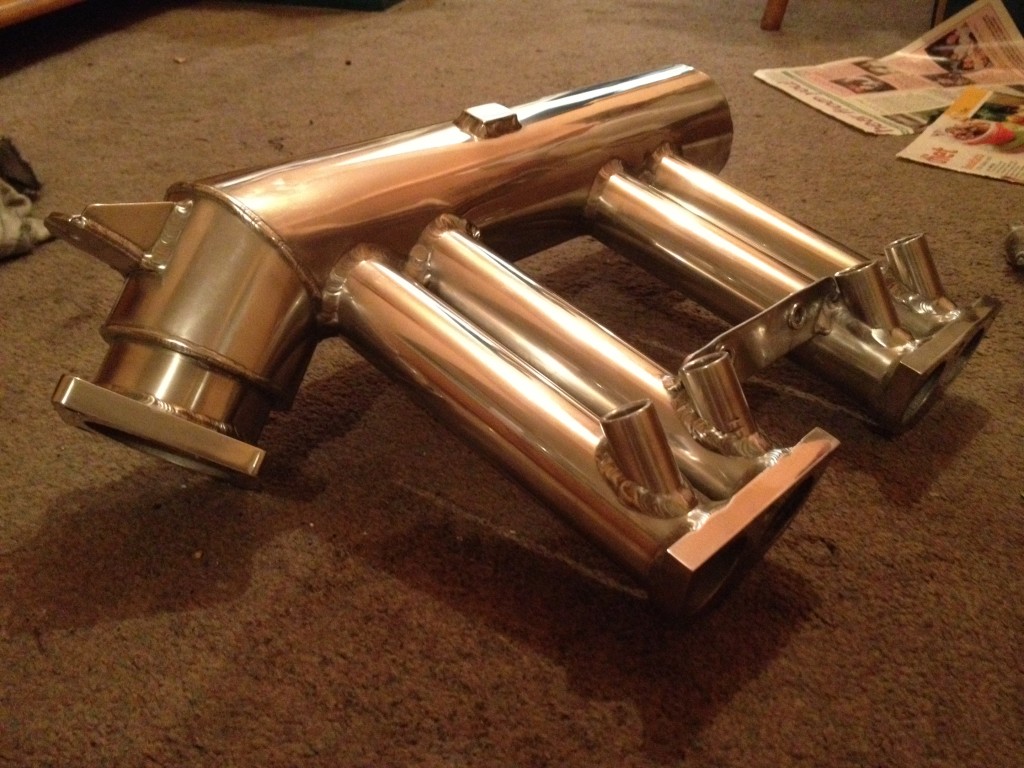
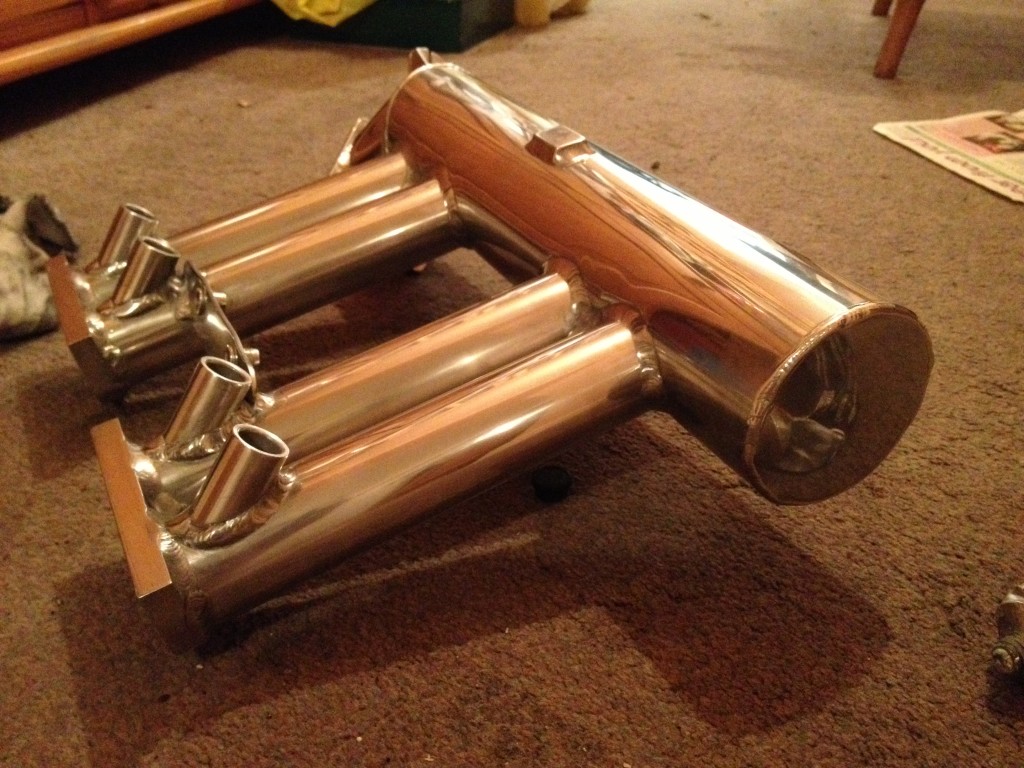
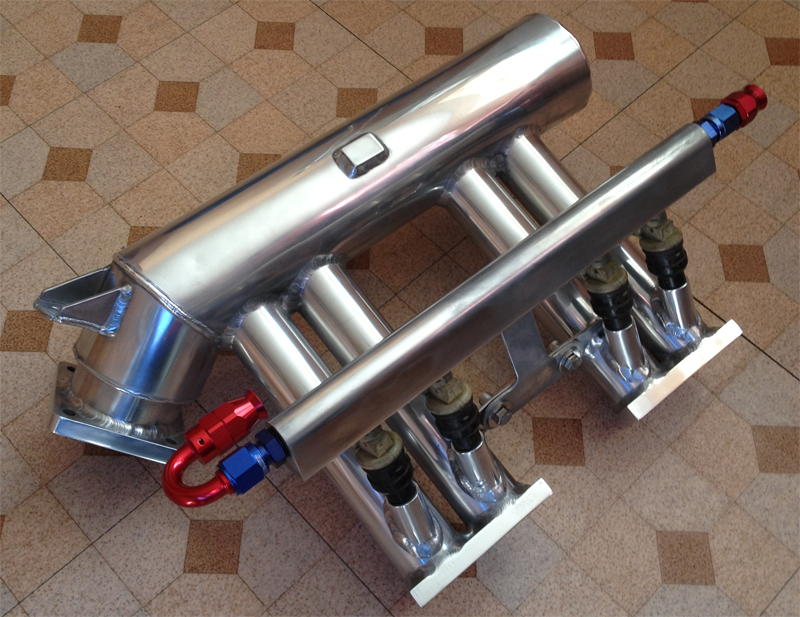
I ended up splitting this up into several 3 hour sessions after work, eventually turning the inlet manifold into something blingy enough to earn me street cred.
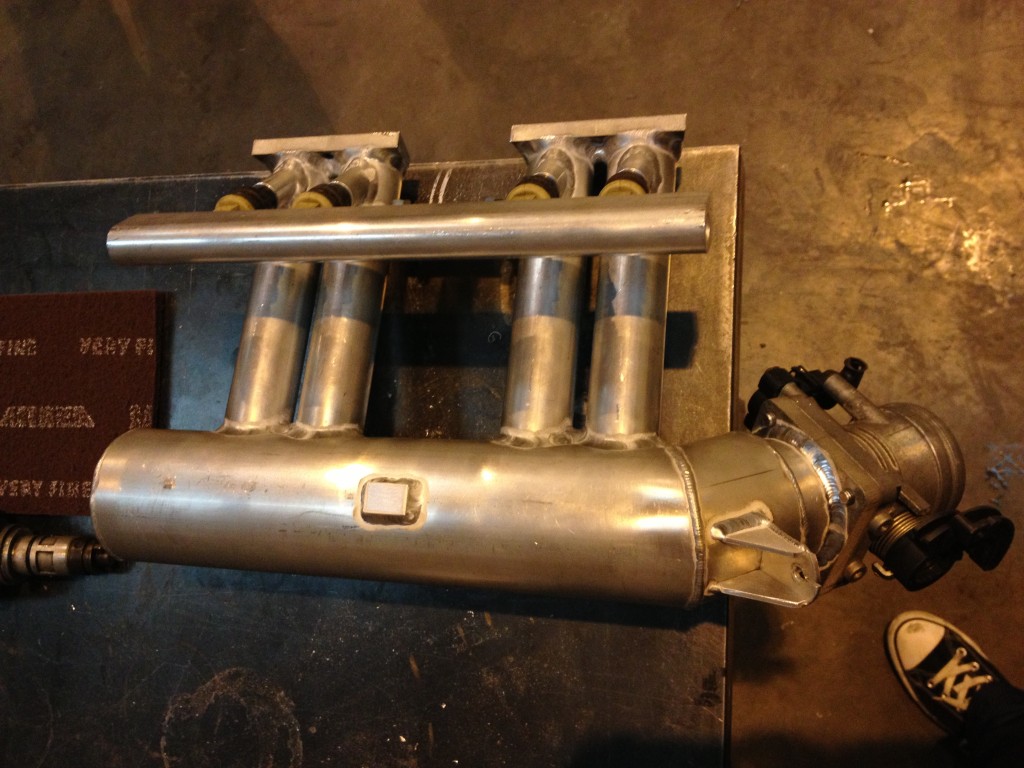
Starting with this:

everything was gone over with a fine scotchbrite pad to give me an even surface prep and to see where the manifold needed a lot of work.
I had a go at trying compound and buffing wheels, but it became clear that I’d need a lot of contours done and it wasn’t really going to give me a perfect scratch free finish without a lot of other kit so I went with what I already had loads of in the house – sandpaper.
Starting at 240 grit, everything got completely flattened and my workbench got completely filthy. I then did the same with 400 grit, then 600 grit. Using mostly diagonal movements opposite to the previous one to make it easier to see when the previous grit’s scratches have all been removed. For the coarser grits I made sure I used a sanding block on any flat surfaces, this helps to keep them flat and makes the job a bit easier as you don’t have to push as hard to get even pressure.
Fortunately from 800 grit onwards, I used it wet so managed to avoid all that nasty dust going everywhere – the water in the sink I was using carried that away, and kept the papers getting clogged up. These stages are a lot less tedious.
The next stages were 1200 grit, 1500 grit and 2000 grit. By 2000 grit it’s really starting to look reflective but still not that clear. If you’ve done the job right though, the aluminium will then only need a very quick rub down with some metal polish. It’s amazing how much more effective metal polish is on a well prepared surface.


