29 JunAluminium Glove Box
Parcel tray, glove box, whatever it’s called, this article focuses on remaking the two cardboard items under the dashboard from the Mk.4 Spitfire onwards. They just aren’t designed for longevity, and before long end up looking tired and tatty like this:
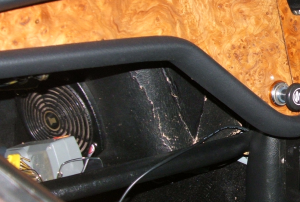
so the natural solution is to build something more rugged, in 1mm thick aluminium. It’s easy to work with, fairly inexpensive and doesn’t weigh much. 1000mm x 500mm x 1mm 1050 grade cost me £8.99 on ebay, though delivery was about a fiver.
The only problem with aluminium is that it doesn’t look like the original carboard. However, this problem can be overcome by gluing black ‘leatherette’ vinyl to the surface of the aluminium after shaping it but before riveting the assembly together.
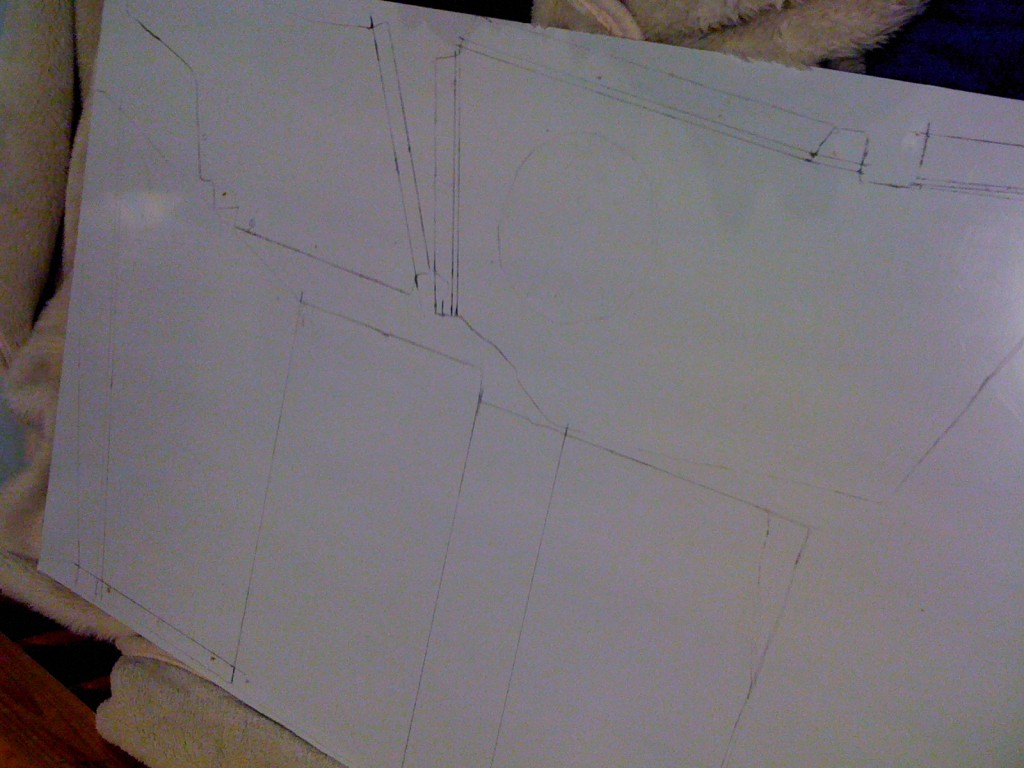
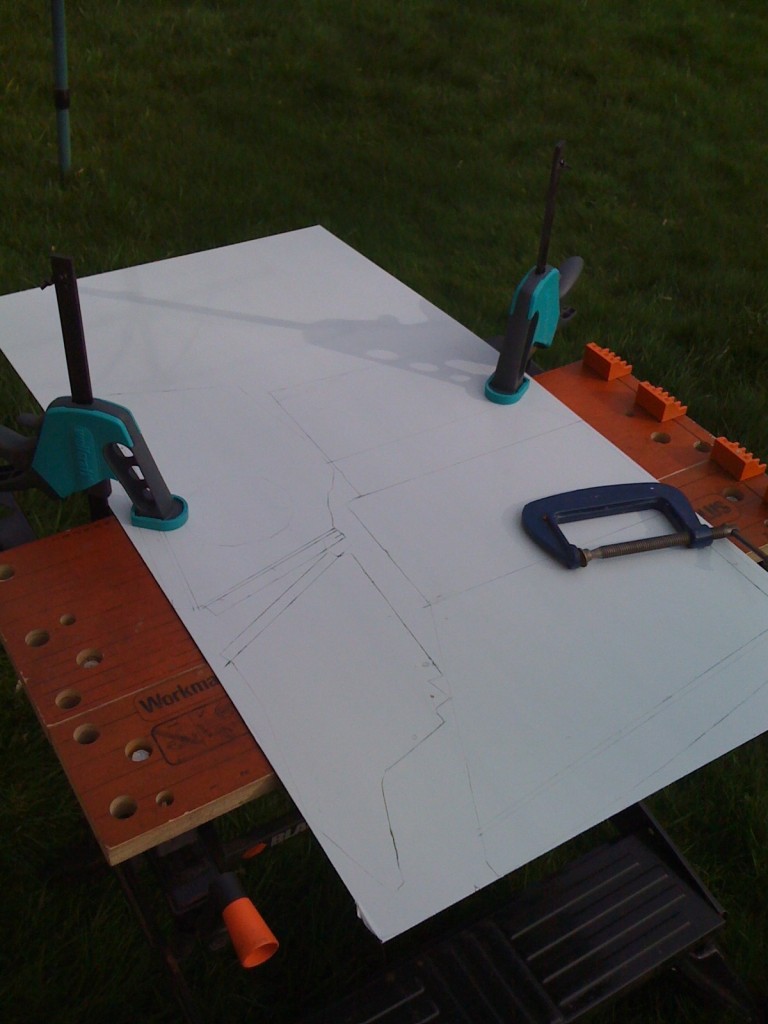
First job was to carefully separate the old cardboard glovebox by removing the rivets. After that it was laid flat on the aluminium sheet, which had a white protective film on one side; perfect for tracing around the flattened card pieces. The sheet was then clamped to a bench ready for the jigsaw. Alternatively, you could use a bandsaw or tin snips to cut the sheet.
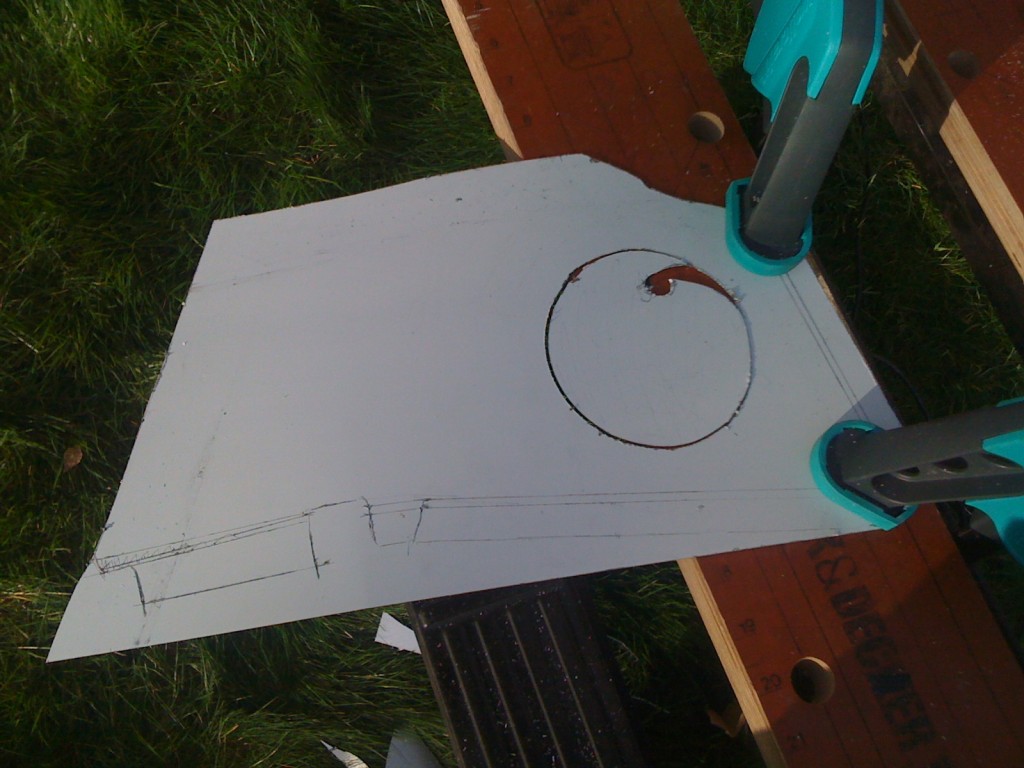
The original box had a speaker hole, so again a hole was made to fit the original 4″ speaker. I used a 1/2″ drill bit to get the jigsaw in there, then carefully cut the circle (occasionally stopping to change the way the piece was clamped).
My rather unsophisticated way of bending the folds:
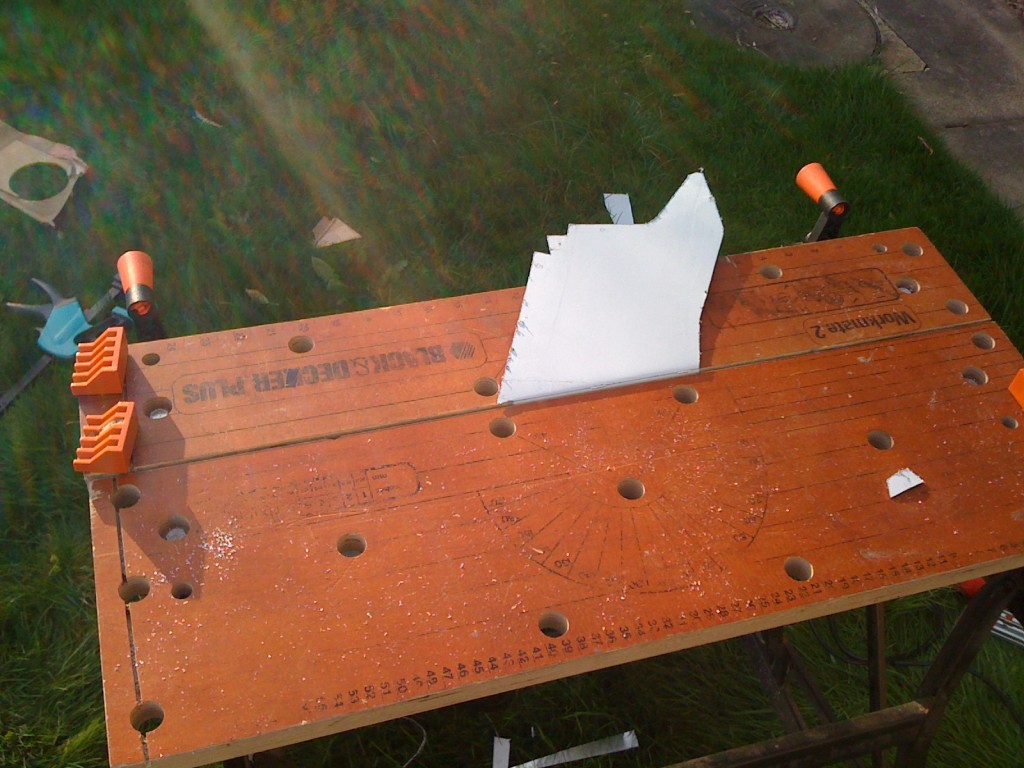
…another way this was done for some edges was to hammer over a block of wood with a 90 degree angle, which tended to produce a sharper bend.
The largest bit, the centre piece, required a bit of care to bend as the original wasn’t a simple “C” shape, it had a few additional subtle bends too. Consequently I trial fitted this piece on it’s own whilst bending it to shape.
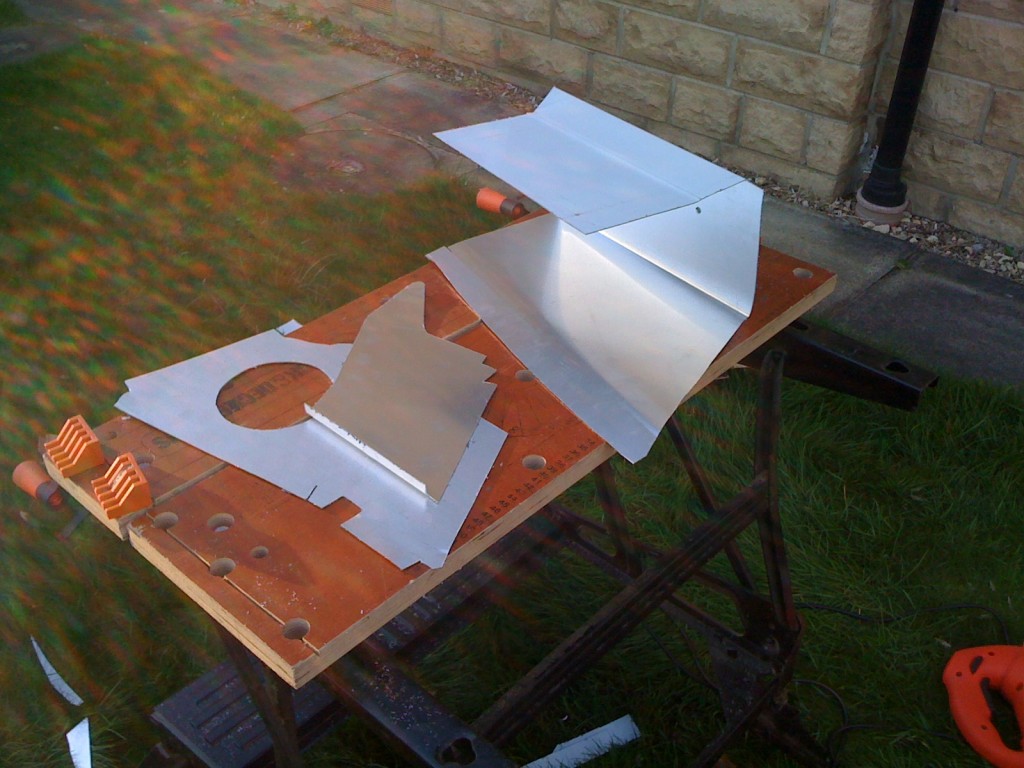
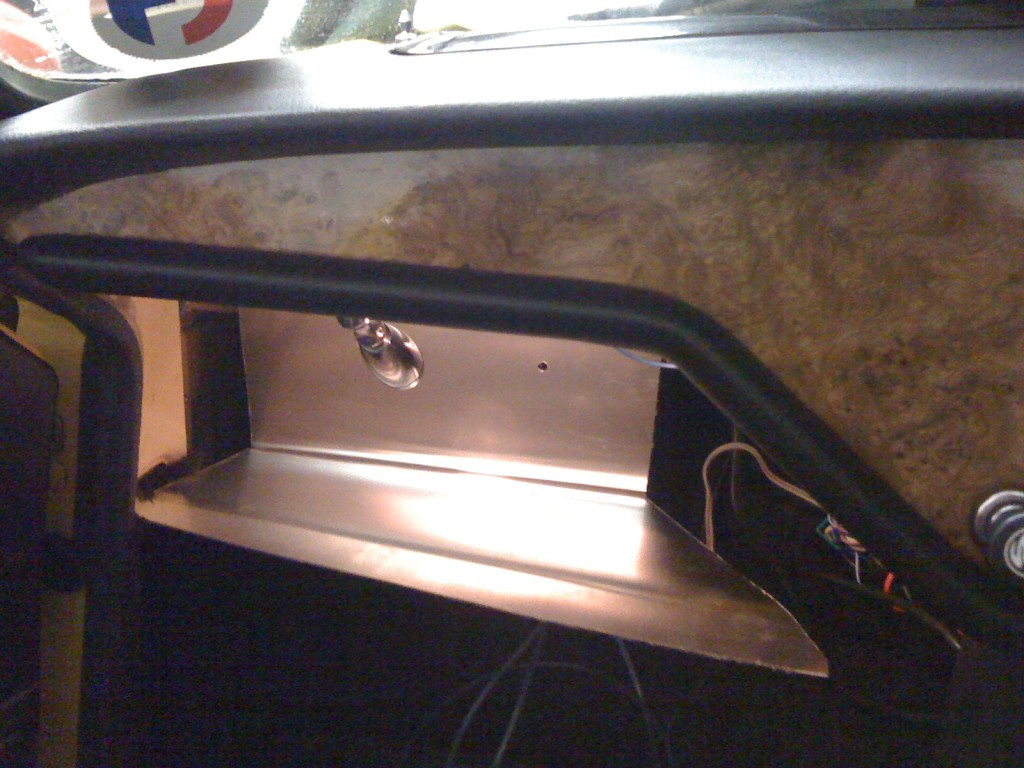
Spend a while making sure you’re happy with the fit. If yours is anything like mine, it’ll be extremely tight inside the car as the cardboard originals were a lot more pliable! Once you’re really happy, clamp the edges together and drill through the two edges simultaneously to get perfectly matched pilot holes for your rivets. If you’re after a non-original aluminium finish, skip ahead to the riveting setion (no pun intended!), however if you intend to cover these in vinyl, leave your rivets alone for now.
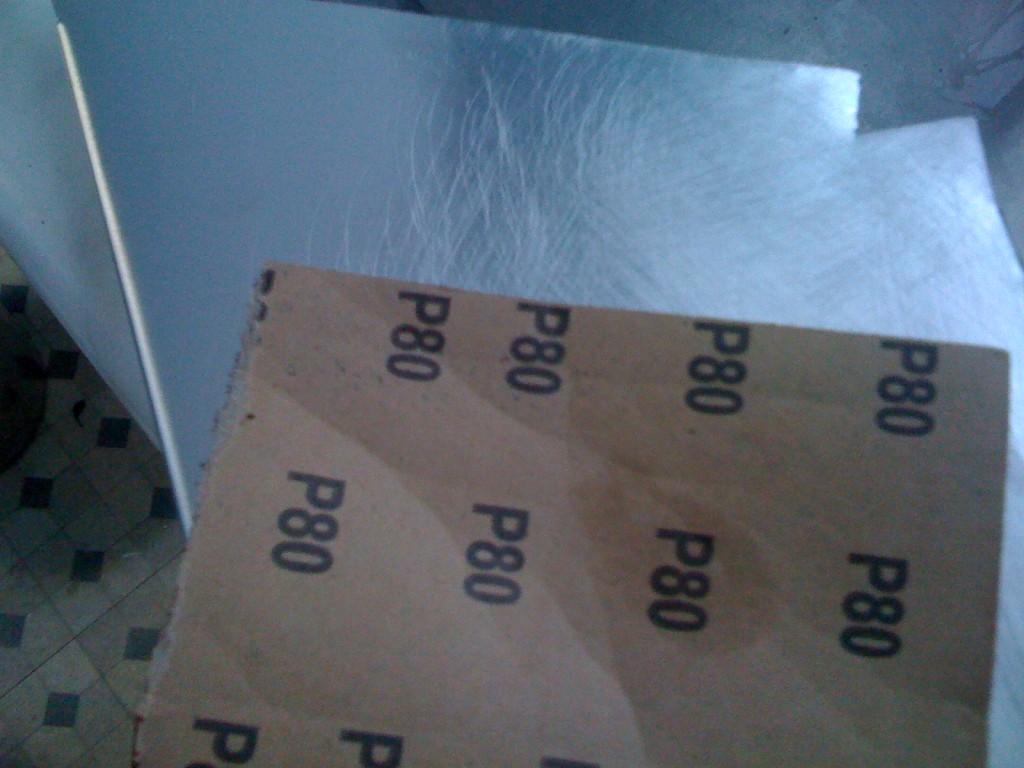
To make sure the aluminium was ‘keyed’ for the glue and vinyl, I roughed it up with 80 grit sandpaper. This is extremely important if you want it to stay stuck down!
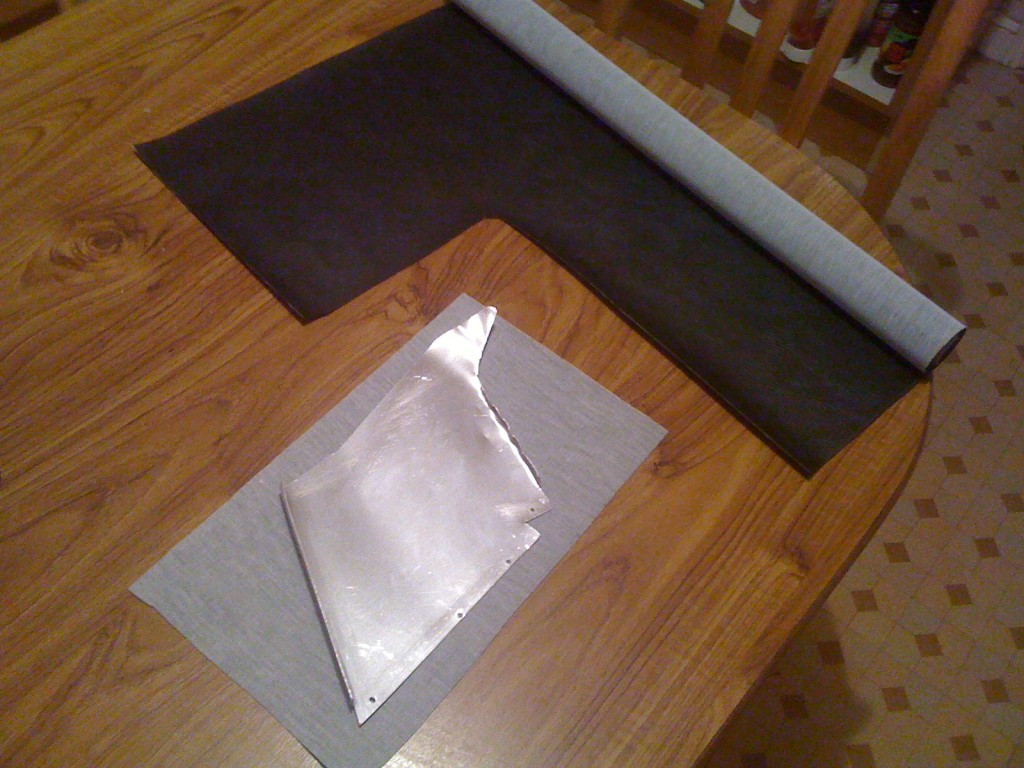
Laying out the sheets on the vinyl first – give yourself plenty of spare material around the workpiece to fold over the other side. You want to start by gluing the face of the aluminium before worrying about edges, get any air bubbles flattened out and let it dry, this is the most important section so give it a bit of extra care.
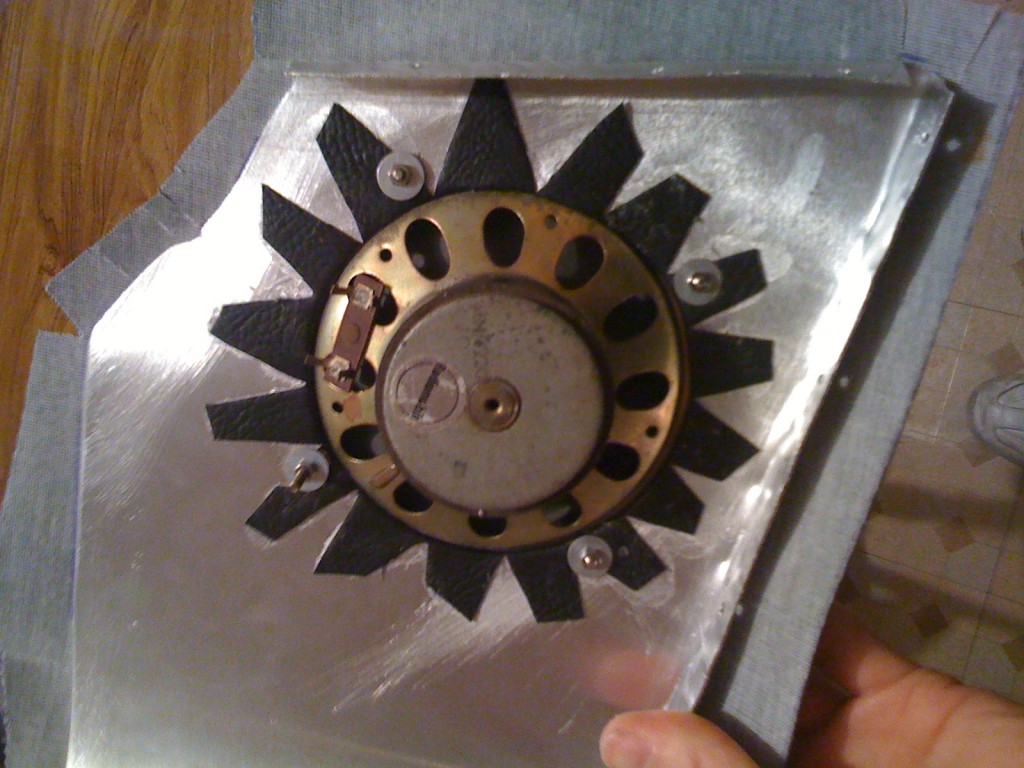
The hole for the old radiomobile speaker took comparatively longer to glue the vinyl around. Cut triangles, stopping a few mm short of the edge of the hole so there’s enough material to pull around the edge and onto the other side. Glue one or two triangles at a time, they don’t actually take that long to tack.
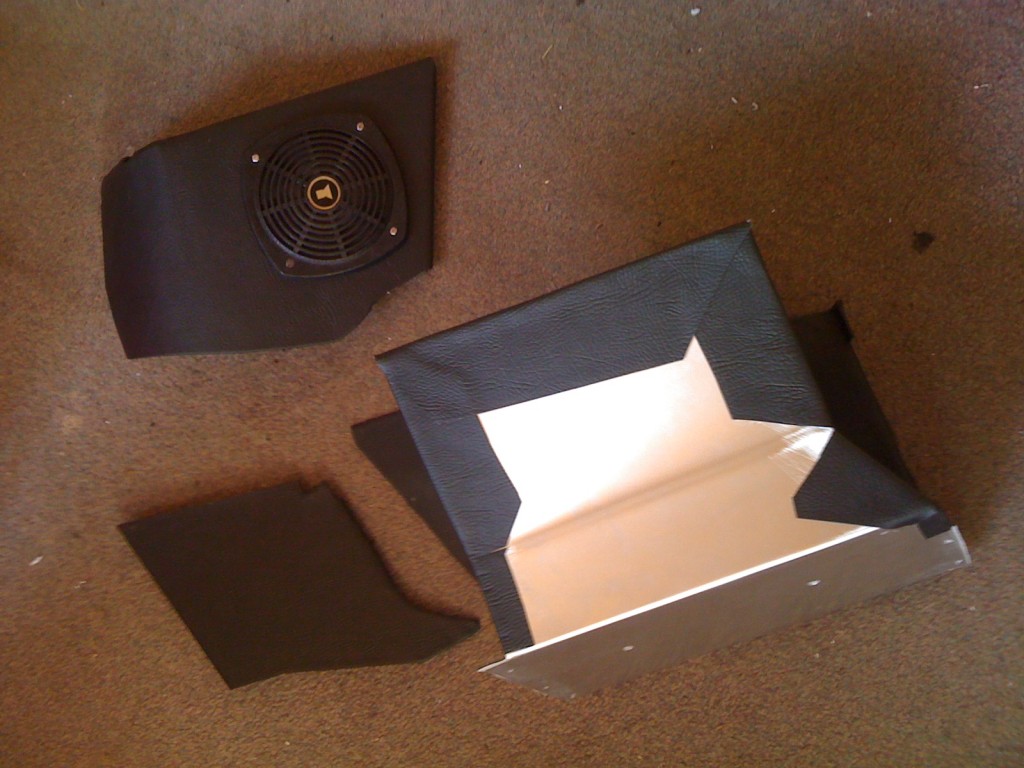
You don’t need to leave as much vinyl as this on the other side, as if you do the job right you shouldn’t be able to see the top of the glovebox centre section when it’s installed. I wasn’t taking any chances though.
By now the installation procedure should have become clear; the vinyl goes on before the three sections are riveted together, and what happens is these riveted edges have vinyl between them; the joins between the three sections thus become seamless.
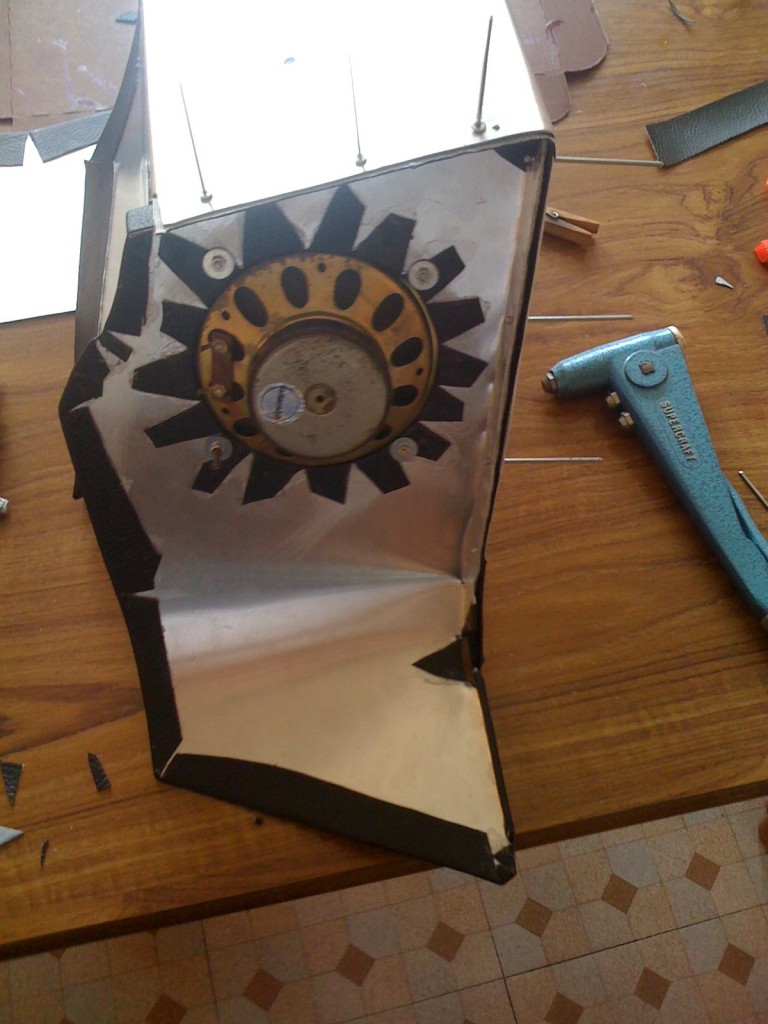
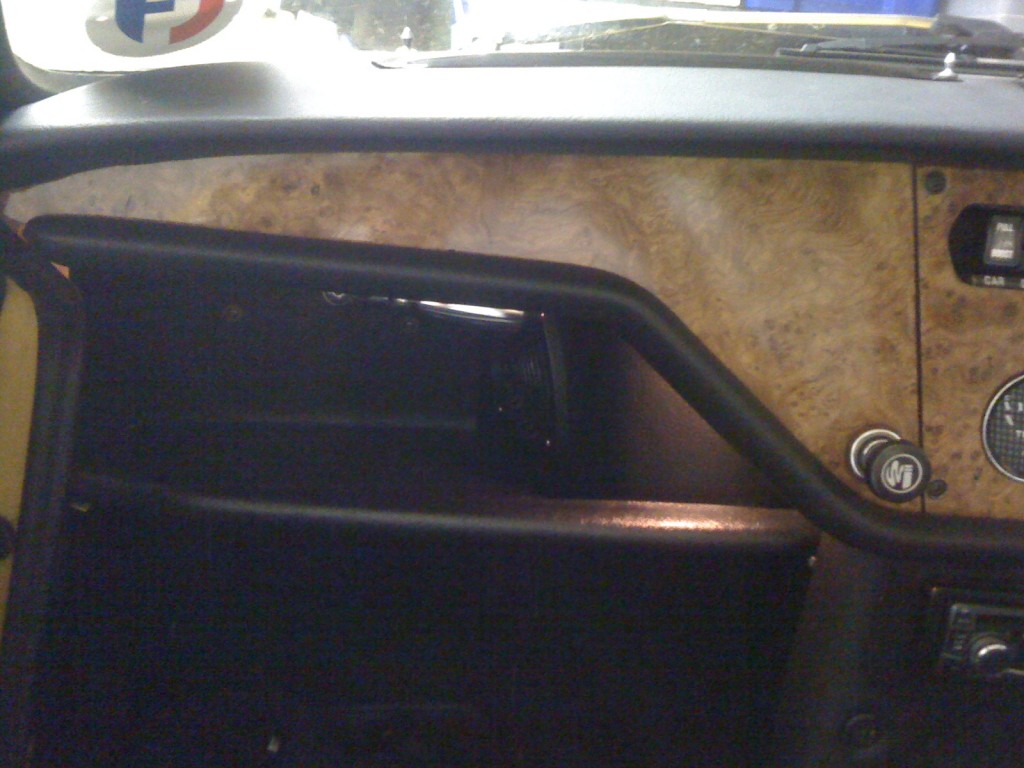
Once that’s all done, admire your handywork for a few days as you’ll only ever get a shadowy half-lit view of it installed in the car from now on. Plus, you need a bit of a rest, as squeezing this into place in the car will be a bit tedious! But damn, does it look swanky…


Great job! Looks amazing. Have already bought the Passenger side(right side US) I do not have the old driver side to make a template. I should talk to my brother and see if he would lend me his off of his Spit. Again, Great job.
Hello Rick,
I dont suppose you have the template do you? mine is completely missing and it seems silly to buy a new one just to end up making it again.
Kind regards
anthony
Hi Anthony,
apologies, sadly I don’t. :\
kind regards
Richard